|
|
|
Follow the steps to setup a My Cloud OS 5 using the dashboard.
Need more help?
My Cloud OS 5 User Manual
Power On and Dashboard Access
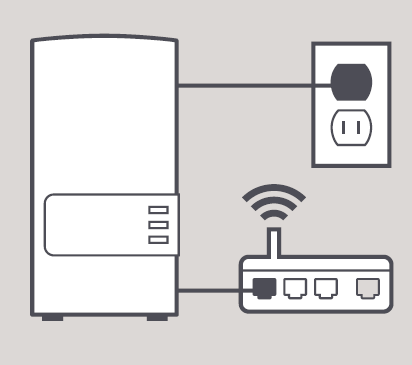
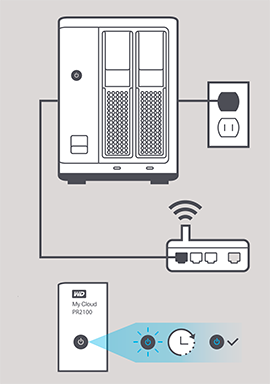
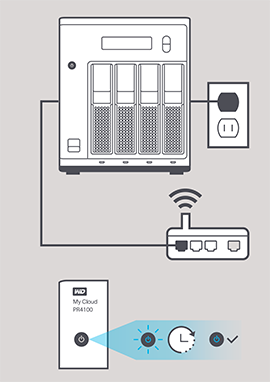
- Power on and connect the My Cloud.
- Connect the network cable to a router with internet access.
- Connect the power cable to the My Cloud and a power source.
- Wait for the Power LED to turn Solid Blue.

The setup image will vary per My Cloud model.
The URL in the browser should redirect to the My Cloud Unique Domain Name.
Need more help?
Answer ID 29832: Dashboard URL Redirects to HTTPS Device Unique Domain Name on My Cloud OS 5 and My Cloud Home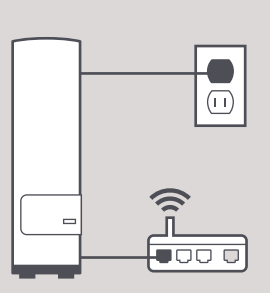
- Open a web browser on a computer connected to the same router.
IMPORTANT:Access to the My Cloud OS 5 dashboard is limited to the local network by default.
The computer and the My Cloud MUST BE on the same local network and subnet. - Enter the IP address or URL of the My Cloud in your web browsers address bar or the product URL for the model used to access the dashboard and setup process.
- IP Address
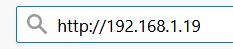
- Device URL
Windows macOS WD My Cloud Single Bay http://wdmycloud http://wdmycloud.local WD My Cloud Mirror Gen2 http://WDMYCLOUDMIRROR/ http://WDMYCLOUDMIRROR.local WD My Cloud EX2 Ultra http://mycloudex2ultra http://mycloudex2ultra.local WD My Cloud EX2100 http://wdmycloudex2100 http://wdmycloudex2100.local WD My Cloud EX4100 http://wdmycloudex4100 http://wdmycloudex4100.local WD My Cloud DL2100 http://wdmyclouddl2100 http://wdmyclouddl2100.local WD My Cloud DL4100 http://wdmyclouddl4100 http://wdmyclouddl4100.local WD My Cloud PR2100 http://mycloudpr2100 http://mycloudpr2100.local WD My Cloud PR4100 http://mycloudpr4100 http://mycloudpr4100.local

Critical:
Perform a 40 second pin reset if the Dashboard login or Setup page does not appear.
Need more help?
Answer ID 29445: How to Pin Reset and System Only Restore a My Cloud OS 5 - IP Address
Dashboard Setup Steps
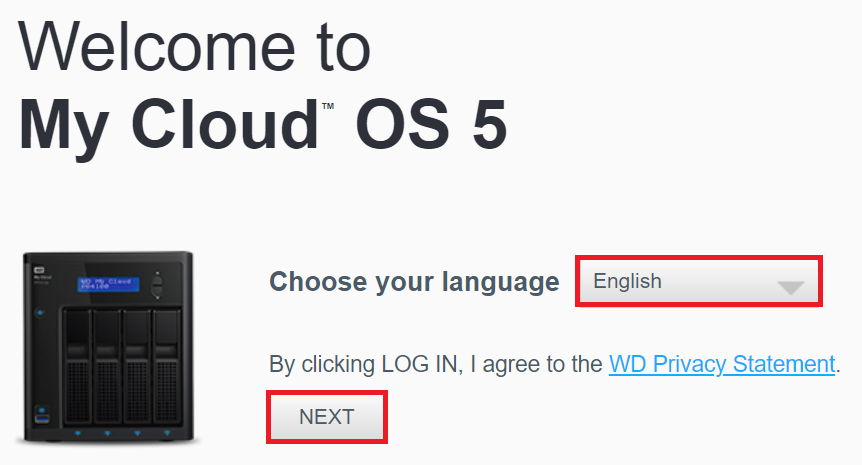
- Select a language from the list.
Click Next.
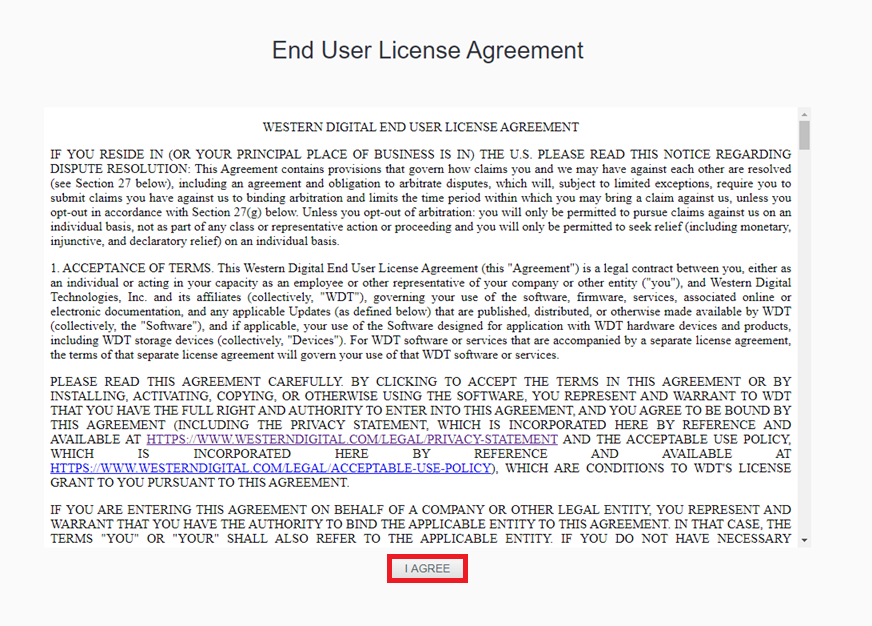
- Review the End User License Agreement.
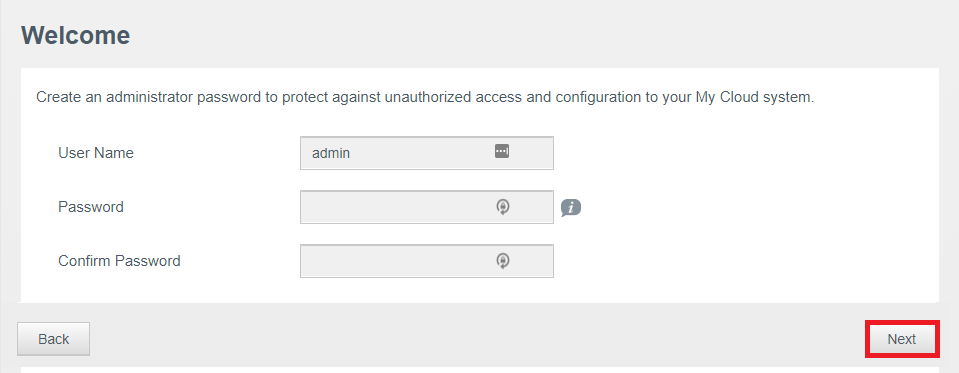
Click I Agree to proceed. - Enter and Confirm a strong password.
Click Next.
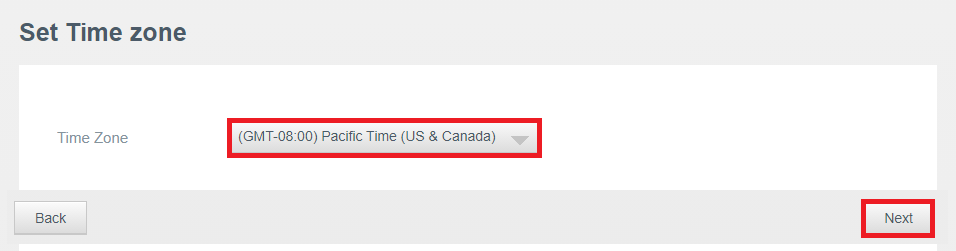
- Select a Time Zone from the list.
Click Next.
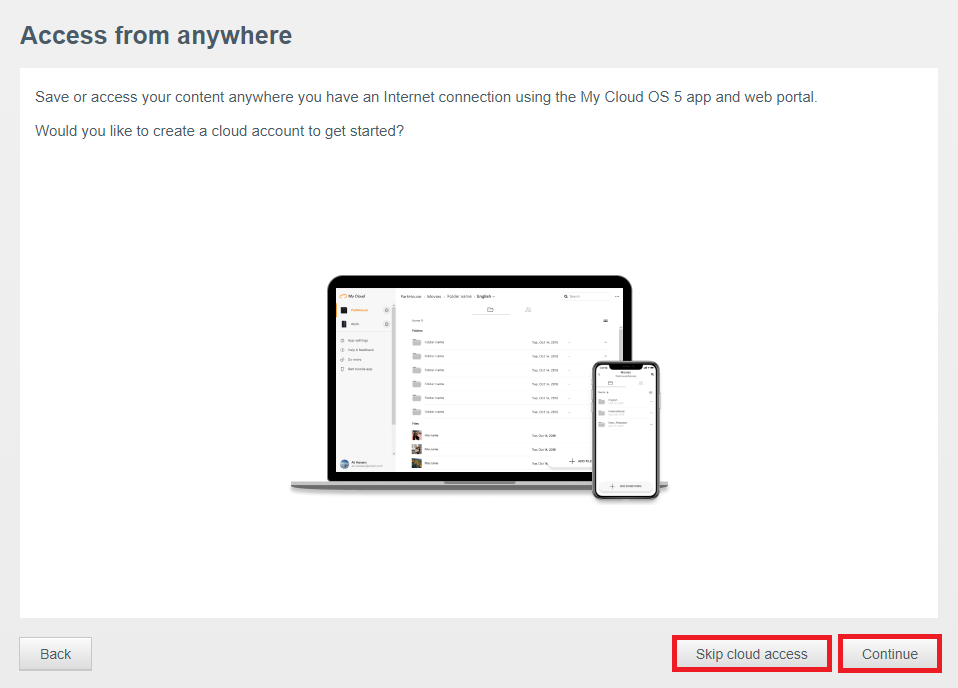
- Click Continue to setup remote cloud access.
Click Skip Cloud Access if remote cloud access is not needed.
- Fill out the form and add an email address and password for the Cloud Account.
Click Next.
- Click Sign in with existing My Cloud OS 5 cloud account if an account is already created for any other device such as WD My Cloud OS 5, My Cloud Home or Sandisk ibi.
- Click Skip Cloud Access if remote cloud access is not needed.

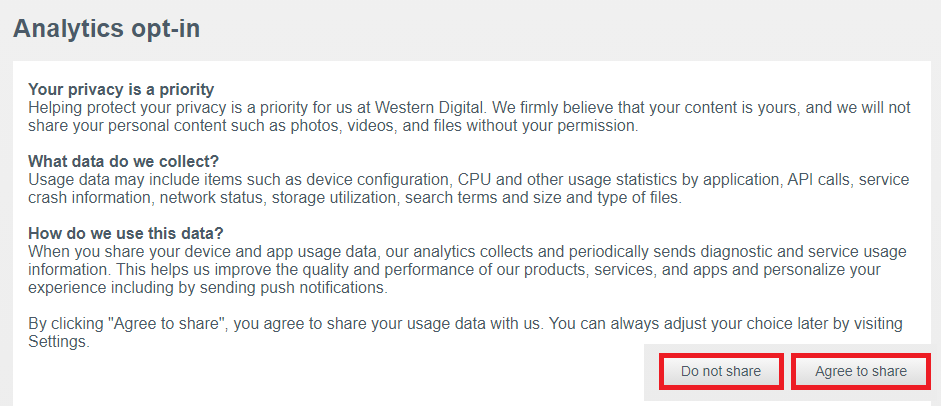
- Click Agree to share analytics WD.
Click Do not share to not share analytics with WD.
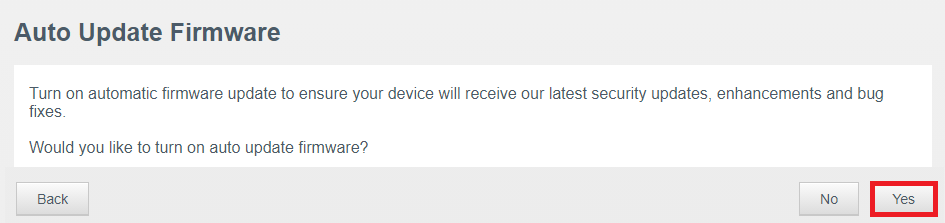
- Click Yes to enable auto firmware update. (Recommended)
Click No to not enabled auto updates.
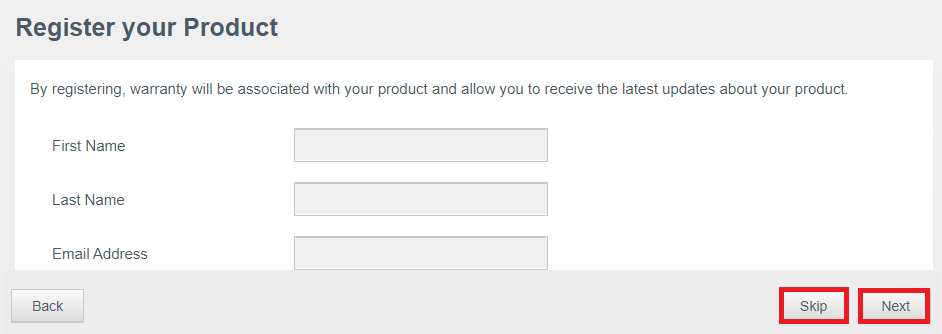
- Fill out the form and register the product. (Recommended)
Click Next.
Click Skip to not register.
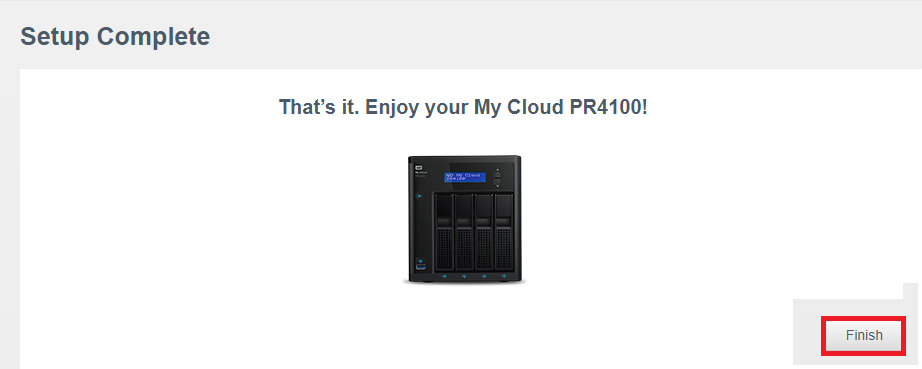
- Click Finish.
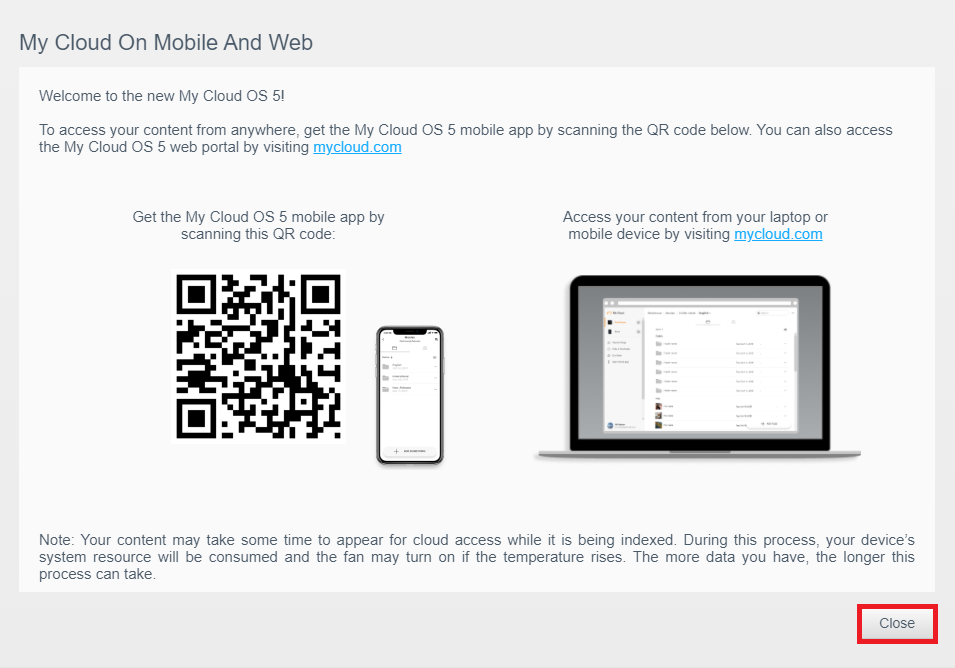
- Use the QR Code to download the My Cloud OS 5 iOS or Android mobile app.
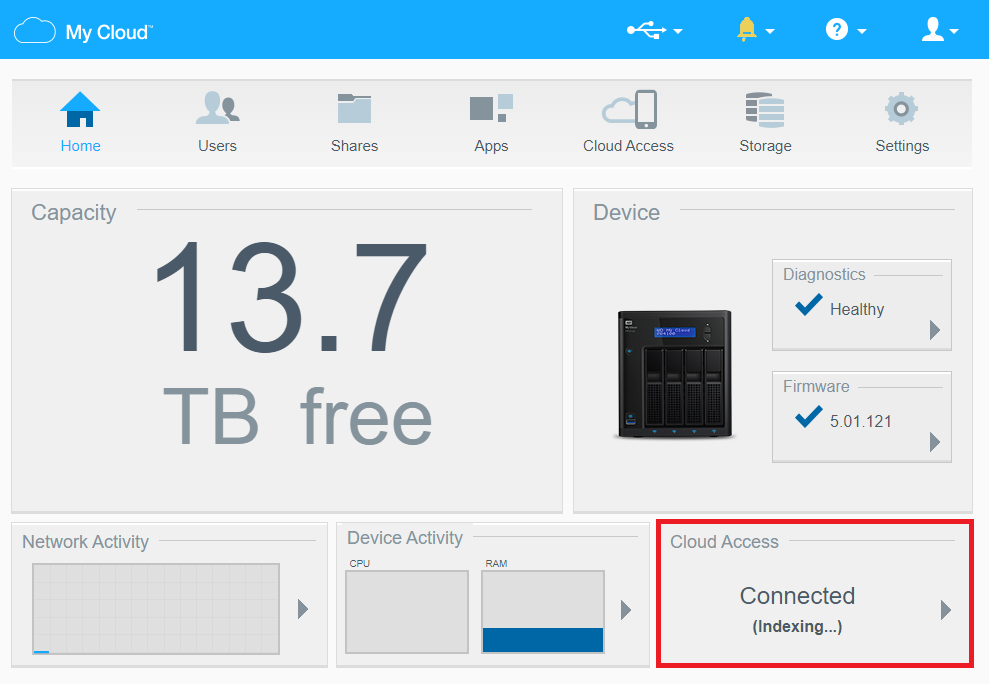
- IMPORTANT:
Indexing will start when the Cloud Access is created for remote access using the web and mobile app.
Need more help?- Answer ID:29836 My Cloud OS 5 Indexing in Progress Message
- Answer ID:29223 My Cloud OS 5 User Share Indexing
Next Steps and More Information
Add users and enable remote access, get the mobile apps and install 3rd party apps.
Need more help?
- Answer ID 29448: Adding Users and Enable Cloud Access on My Cloud OS 5
- Answer ID 29958: How to Change Windows Samba (SMB) Protocol Version on My Cloud OS 5
- My Cloud OS 5 User Manual
- Access My Cloud OS 5 Web App
- Download iOS Mobile App
- Download Android Mobile App
- Download Android Mobile App (China)
- Answer ID 25436: How to Access and Map a WD Network Drive on Windows 11 and Windows 10
- Answer ID 29633: Online User Guide and Solutions for My Cloud OS 5
- Answer ID 29498: Third-Party Apps Available for My Cloud OS 5