How to create a new RAID volume on a 2-bay or 4-bay My Cloud device.*END
A new RAID volume must be created on drives that have never been used or erased.
2-Bay My Cloud
- Erase the drive.
Need more help?
Answer ID 10850: How to Fully Erase, Low-Level Format, or Write Zeros on a Drive.

Critical:
The process is Data Destructive and cannot be undone.
ALL THE DATA ON THE DRIVE WILL BE LOST! - Login to the dashboard.
Need more help?
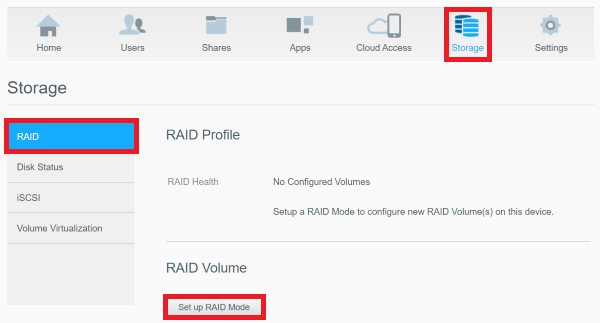
Answer ID 29818: Steps to Access the Dashboard of a My Cloud OS 5 - Click Storage.
Click RAID.
Click Set up RAID Mode.
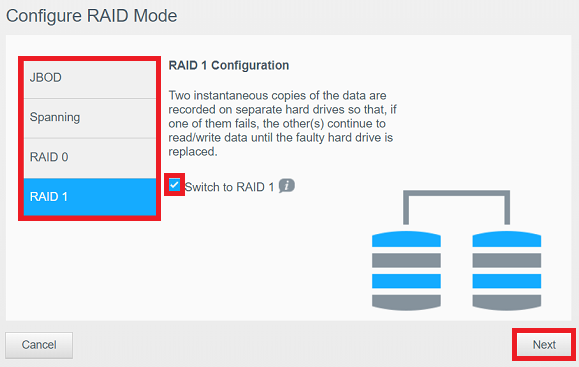
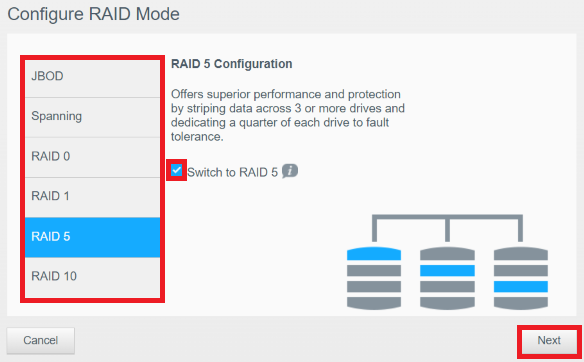
- Select RAID mode.
Click checkbox.
Click Next.
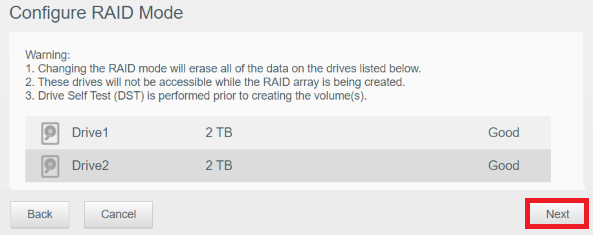
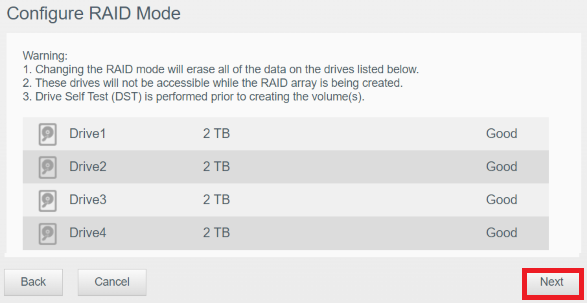
- Click Next.
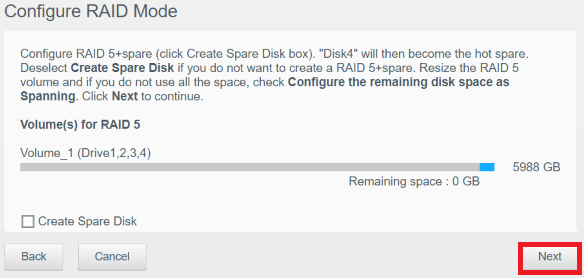
- Set the size of the volume (The default is set to max).
Click Next.

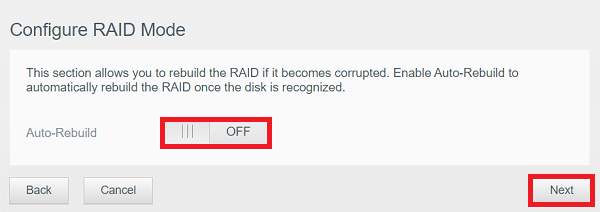
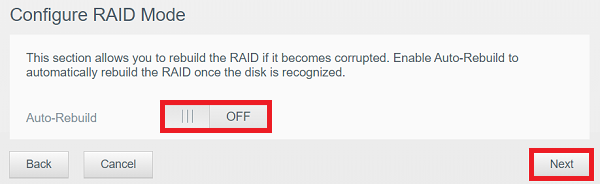
- Toggle Auto-Rebuild to ON.
Click Next.
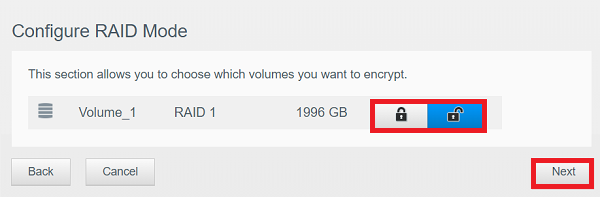
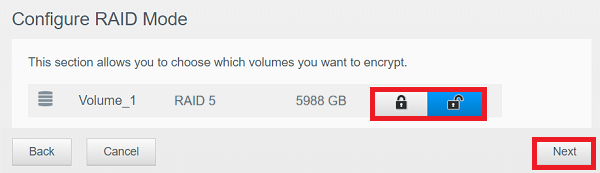
- Select volume type (Encrypted or Unencrypted).
Click Next.
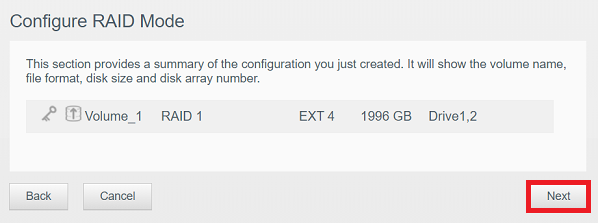
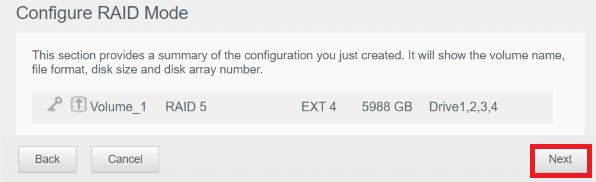
- Click Next.
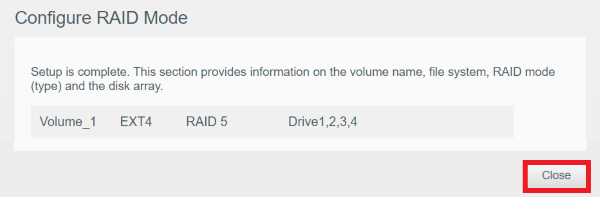
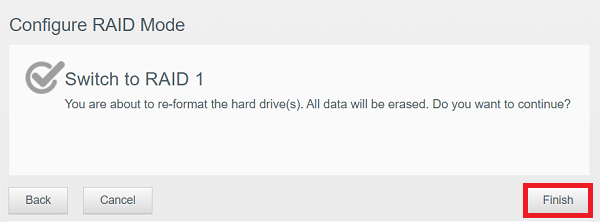
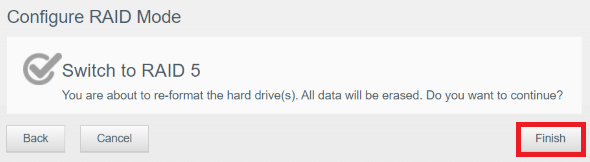
- Click Finish.
Critical:
The process is Data Destructive and cannot be undone.
ALL THE DATA ON THE DRIVE WILL BE LOST!
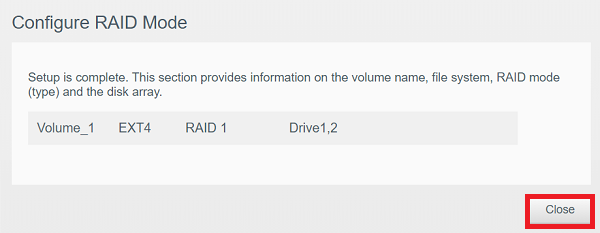
- Click Close.
4-Bay My Cloud
- Erase the drive.
Need more help?
Answer ID 10850: How to Fully Erase, Low-Level Format, or Write Zeros on a Drive.
Critical:
The process is Data Destructive and cannot be undone.
ALL THE DATA ON THE DRIVE WILL BE LOST! - Login to the dashboard.
Need more help?
Answer ID 29818: Steps to Access the Dashboard of a My Cloud OS 5 - Click Storage.
Click RAID.
Click Set up RAID Mode.
- Select RAID mode.
Click checkbox.
Click Next.
- Click Next.
- Set the size of the volume (The default is set to max).
Click Next.
- Toggle Auto-Rebuild to ON.
Click Next.
- Select volume type (Encrypted or Unencrypted).
Click Next.
- Click Next.
- Click Finish.
Critical:
The process is Data Destructive and cannot be undone.
ALL THE DATA ON THE DRIVE WILL BE LOST!
- Click Close.