How to format a Western Digital drive to exFAT, so it can be used on both Windows and macOS without reformatting.*END
|
|

Western Digital drives come formatted as NTFS (Windows) or HFS+ (macOS).
The drive must be formatted as exFAT when used on both Windows and macOS computers.
Answer ID 5242: Linux and Unix Support for Western Digital Retail Products
 |
Critical: The process is Data Destructive and cannot be undone. |
Steps to Format a Drive on Windows
- Right-click on Start, the Windows logo on the bottom-left of the screen.
Click Disk Management. - The lower pane of Disk Management will show a list of drives.
Choose the drive that needs to be formatted.
A blue bar will show above the drive if there is a partition on it.
Right-click the bar and click Delete Volume.
IMPORTANT:
A drive that shows Not Initialized will need to be intialized prior to format.
Need more help?
Answer ID 18824: How To Initialize Secondary Drives on Windows.
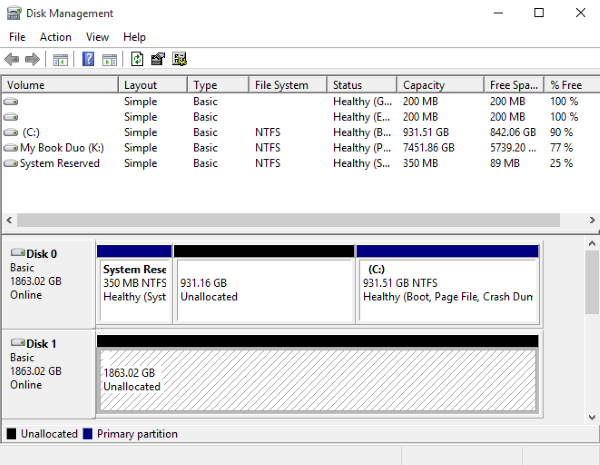
- A drive will show as Unallocated when there is no partition on it.
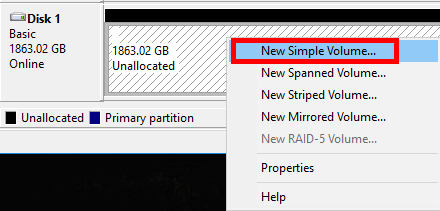
Right-click the Unallocated space.
Click New Simple Volume.
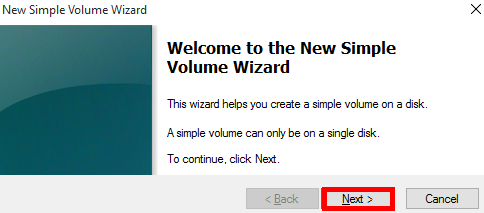
- Click Next.
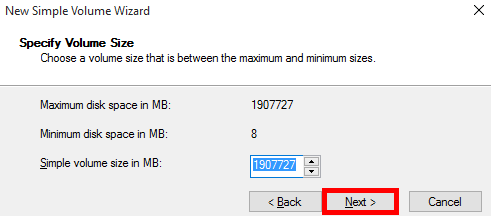
- Choose the volume size.
Click Next.

The maximum disk space is selected y default.
It is recommended to leave it at this size.
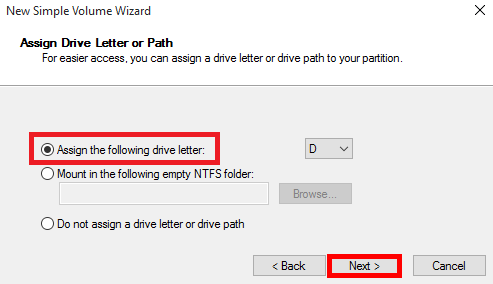
- Assign a drive letter.
Click Next.
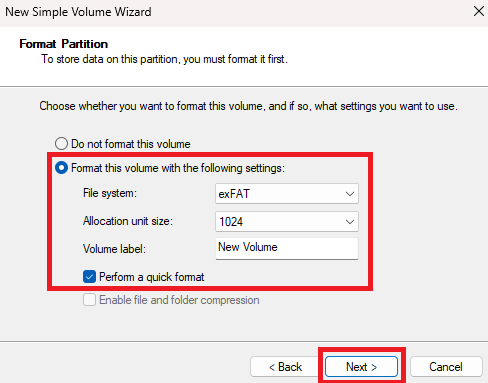
- Set the file system to exFAT.
Set Allocation unit size to 1024.
Choose a name for the Volume Label.
Check the box Perform a quick format.
Click Next.
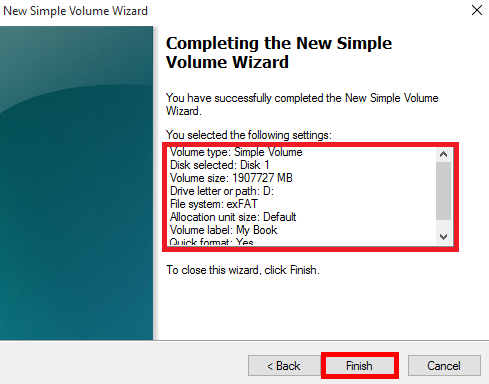
- Click Finish.
Need more help?
Steps to Format a Drive on macOS
- Connect the drive to the computer.
- Press CMD + Spacebar to open Spotlight Search.
Type Disk Utility
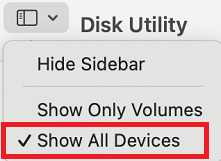
Press Enter. - Click View.
Click Show All Devices.
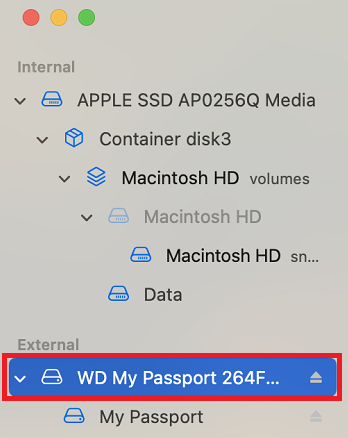
- Select the drive on the left.
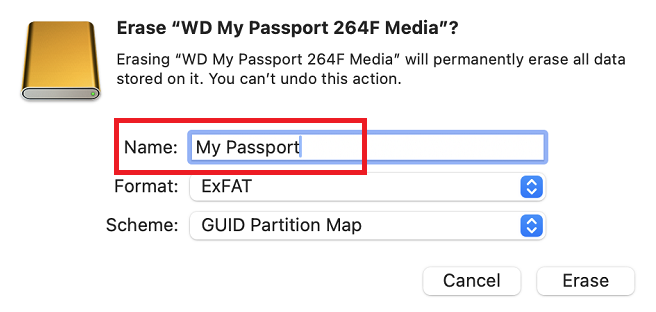
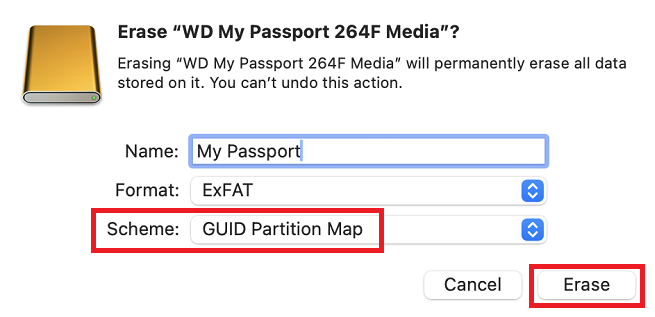
- Enter a name for the drive.
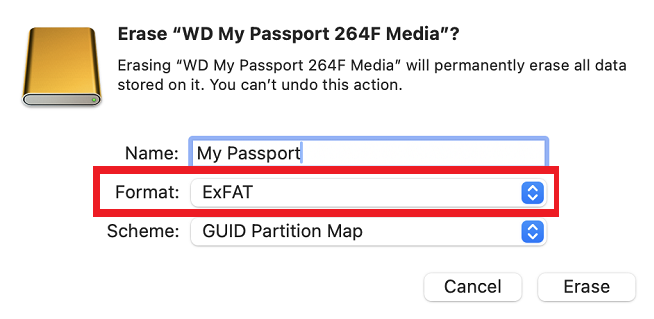
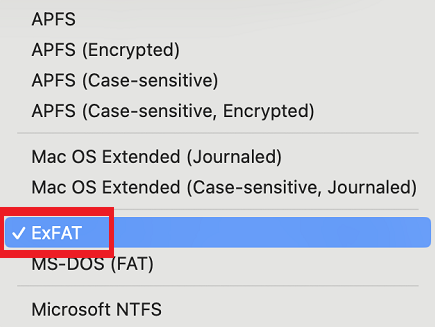
- Click the Format drop down.
Select ExFAT.
- Select GUID Partition Map.
Click Erase.
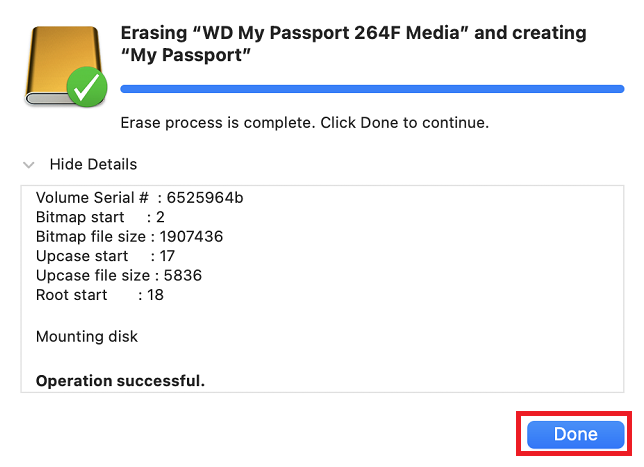
- Click Done.
Need more help?